Ceiling Leak Water Damage in Westwood
A drip overhead creates questions about both the source and the ceiling's condition. Westwood ceiling leak cleanup begins with a safe room boundary, then follows moisture through the overhead assembly and surfaces below.
(888) 480-6221Discuss the dripping ceiling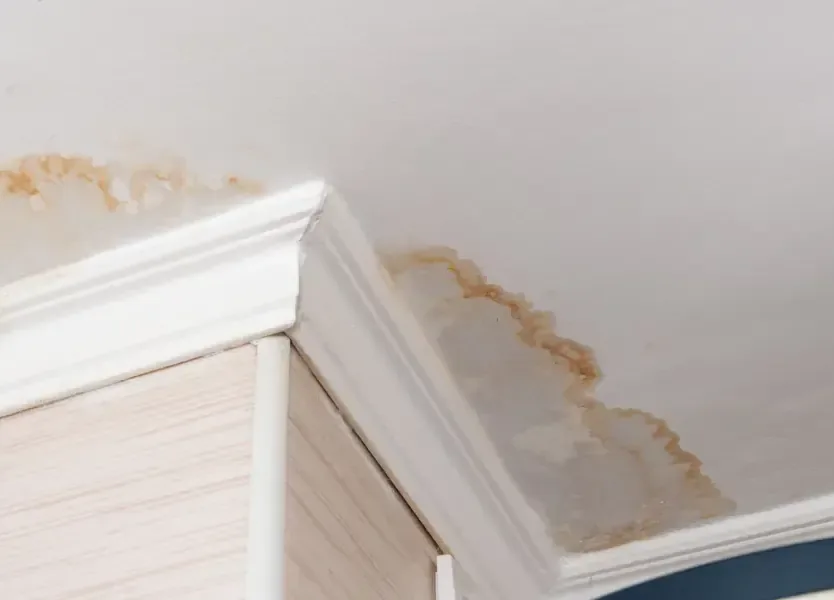
First steps for ceiling leak water damage in Westwood
- 1
Clear the space below
People and pets should stay away from sagging or dripping overhead material. If belongings cannot be reached without entering that area, leave them for a planned handling approach.
- 2
Observe from a dry doorway
Record the stain, drip position and nearby fixtures from a safe location. A description helps the assessment without requiring anyone to investigate inside a damaged ceiling.
- 3
Identify the space above
Mention an upstairs bathroom, accessible cavity or plumbing route when known. This information helps coordinate source tracing with the inspection of the wet assembly and the room below.
- 4
Preserve access after source repair
An opened ceiling can reveal wet layers beyond the repaired component. The moisture assessment should occur before those openings are covered or the damaged finish receives new paint.
How ceiling leak water damage work is done in Westwood
A ceiling stain can spread away from the entry point before a drip reaches the floor. Inspection needs to look above the mark as well as beneath it. Dedham-Westwood Water District includes water dripping from a ceiling among the warning signs of an interior plumbing leak. Source tracing establishes which component needs correction, while a separate assessment determines whether the ceiling and surrounding room can be approached safely.
What does ceiling leak water damage cost in Westwood, MA?
Ceiling leak cleanup costs in Westwood depend on overhead access, material condition and spread into the room below. The estimate should explain protective handling, selective removal and drying separately from source correction and replacement finishes.
Localized ceiling wetting
$1,000 to $2,000
Ceiling and room damage
$2,000 to $5,000
Several overhead areas
$5,000 to $9,000+
Ranges are typical, not a quote: category of water, square footage, material class and how fast drying started move the number most. Run the water damage cost calculator for a closer range.
The ceiling leak water damage process in four steps
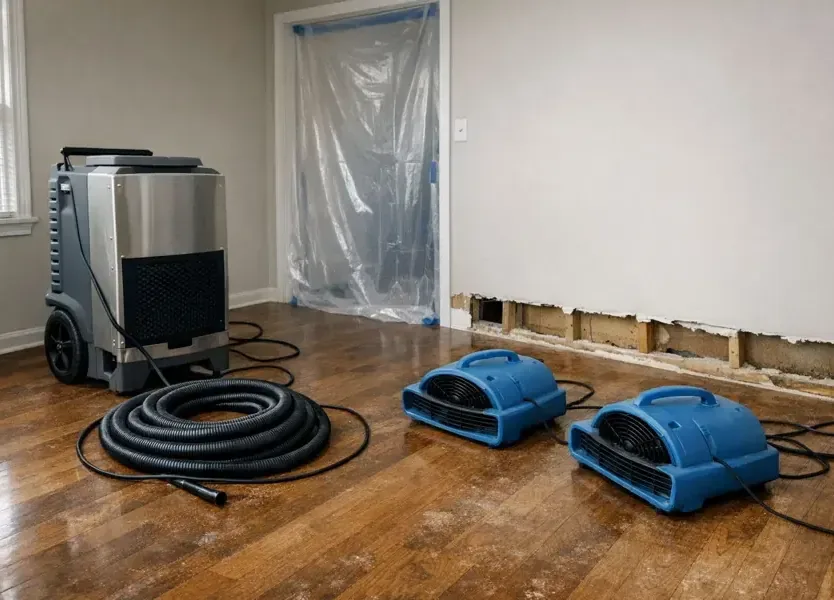
The drying plan follows the materials, water category and access conditions recorded during inspection. Technicians compare repeat measurements with an unaffected reference and adjust equipment when moisture stops falling.
Step 1 Assess overhead stability
The work area is evaluated for loose or weakened finishes, wet electrical features and other conditions affecting access beneath and around the visible ceiling damage.
Step 2 Trace and expose wet layers
Source findings and moisture observations define the affected cavity. Necessary openings are documented, with attention to materials above the stain and adjoining wall connections.
Step 3 Handle secondary room damage
Water on flooring, furniture and other contents is addressed alongside the ceiling, so the cleanup covers the full route from overhead entry to the room below.
Step 4 Assess cavity drying progress
Cavity readings track retained material recovery. Completion notes explain drying results and remaining source or finish work before room use resumes.
Give a changed ceiling room to be assessed
Sagging, loose finishes and water near lighting call for restricted access. Occupants should avoid standing beneath the affected area or puncturing a bulge to release water. The safe working boundary may extend beyond the stain because the visible mark does not show every weakened layer. Photos from an unaffected doorway can preserve the initial appearance without placing someone directly below the damage.
Follow the overhead assembly across its connections
A bathroom, pipe route or another space above the room may help focus the source investigation. Inspection considers ceiling surfaces, cavity materials and the points where water reaches wall tops. Wet insulation or damaged finish layers can affect access decisions. The objective is to expose what needs treatment while documenting why each opening is required.
- Note the first drip location and any later change in its position.
- Describe water use or other activity preceding the visible drip.
- Check nearby wall faces and furniture for secondary wetting.
- Keep the opened cavity available for moisture assessment after source work.
Dry overhead materials and the room beneath
For an interior in Islington, near Westwood Library or along Washington Street, access to the room above can be useful information when arranging cleanup. The assessment also includes flooring and contents below the drip. A small ceiling opening can leave a much broader drying task if water traveled along concealed framing before emerging.
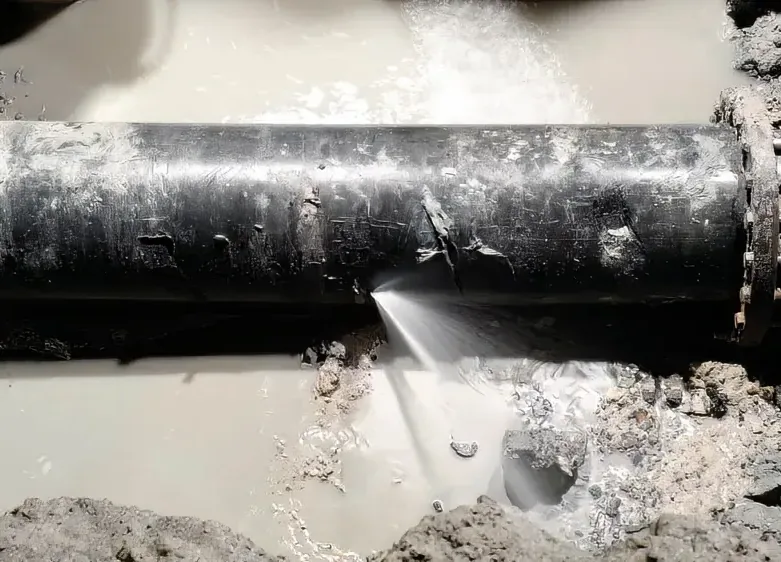
The pinhole leak cleanup service addresses small concealed pipe releases that can produce overhead wetting. Once the source is corrected, drying observations should cover retained cavity materials and exposed room surfaces. Repainting belongs after the moisture work and any necessary finish replacement, with the completion record explaining the distinction.
Ceiling leak water damage across Westwood and nearby towns
Ceiling water assessments cover occupied homes and other interiors around town. Location references such as Islington and Washington Street help coordinate access, while the room arrangement defines the overhead inspection needs.
The same service nearby: ceiling leak water damage in Stoughton, Braintree, Mansfield.
Related water damage services in Westwood
Ceiling Leak Water Damage questions in Westwood, MA
Still dealing with it?
An overhead drip needs a safe inspection plan. Describe the ceiling's appearance and the room above from an unaffected location.
(888) 480-6221Explain the overhead water01Should a ceiling bulge be punctured?
Occupants should stay clear of the area and have its condition assessed. Releasing trapped water without a safe plan can expose people and nearby belongings to falling material.
02Can plumbing create a ceiling drip?
Yes. The district lists ceiling drips as an interior plumbing warning sign. Source tracing considers the components above the wet area and identifies the needed correction.
03Why inspect walls below the stain?
Water can follow a ceiling cavity to wall connections. The upper wall and its lower finishes may hold moisture beyond the most obvious overhead mark.
04Does painting solve the water damage?
Paint changes the appearance of the surface. The source, damaged material and retained moisture need attention before a replacement finish is applied to the ceiling.
05Will all ceiling material need removal?
Inspection determines the condition and access needs of each layer. The scope should explain which areas are damaged and which suitable materials can remain for drying.
06What helps coordinate the assessment?
Information about the room above, the first drip and any plumber visit helps connect source tracing with cleanup. Photographs preserve changes that may become less visible later.
Assess the ceiling before covering the stain
The cleanup scope can connect the wet cavity, adjoining walls and affected contents with source correction and a measured drying sequence for retained materials.